43 how to remove backing from dymo labels
5 Easy Steps On How To Change The Tape In A DYMO Label Maker In this article, we'll introduce you 5 easy steps on how to change the tape in a DYMO label maker. 1. Open the Label Maker Press and release the tape cassette cover to open the tape compartment of the label maker. 2. Remove the Old Cassette Remove the old cassette from the label maker. 3. Insert the New Cassette How do I remove Dymo labels? | PopularAsk.net Try applying a little heat, a blow dryer will do, warming the label should help loosen the glue. You can then use a light amount of adhesive remover to wipe ...
Amazon.com: DYMO LetraTag Labeling Tape for LetraTag Label ... Created specifically for LetraTag Label Makers, DYMO LT Labels are packaged in easy-to-load cassettes and feature an easy-peel backing for trouble-free application. Offered in multiple print and backing colors, these labels are perfect for labeling pantry, garage, and home office supplies and make stored items easy to identify for faster access.

How to remove backing from dymo labels
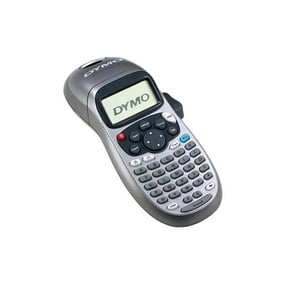
How to Clean the Cutter Blade on the Dymo XTL500 Label Maker - Dymo Rhino To clean the cutter blade: Press the label compartment release and lift the cover. Remove the label cartridge. Pinch the release lever on the outside of the cutter blade and pull the cutter blade straight up to remove. Place the cutter blade on a flat surface with the blade side facing up. Use a cotton swab and alcohol to clean both sides of ... LabelManager 160 User Guide - Dymo With the DYMO LabelManager 160 label maker, you can create a wide variety of high-quality, self-adhesive labels. You can choose to print your la bels in many different font sizes and styles. The label maker uses DYMO D1 label cassettes in widths of 1/4”, 3/8”, or 1/2”. Labels are available in a wide range of colors. Removing the backing from Dymo D1, Rhino and XTL Label Tapes - After you have printed your label, flip it over and look for the split in the backing sheet - Gently squeeze / pinch the tape. The tape backing will start to separate !! - Carefully peel away the backing from the tape - Flip it over and get ready to stick the label where you want it..... These instructions apply to the following Dymo labels:
How to remove backing from dymo labels. PDF How to clear a label jam in the Dymo label printer? - School Check IN Gently lift the back edge of the panel towards the front of the printer. 6. Slide / wiggle the front panel off. apply to both the Dymo 400 and Dymo 450 models 7. The lever on the left releases the roller pressure on the paper and will allow users to more easily remove the labels or paper. Gently lift this lever to help remove the jammed label. How do I remove the backing from the labels? | Brother Peel off the label backing. Another method is to use a pen that has a pocket clip. Hold the tape in your left hand, with the printed surface facing up, and hold the pen in your right hand. Pass the tape halfway through the long narrow hole in the pen's pocket clip. Turn the pen three-quarters of a turn towards you and pull the pen away from you. How do I remove the backing from the labels? | Brother Jan 23, 2015 — Hold the tape in your left hand, with the printed surface facing up, and hold the stick in your right hand. · Pass the tape halfway through the ... Removing The Label Backing - Dymo XTL 300 User Manual Removing the Label Backing ... back for easy removal of the label backing. Does not apply to heat-shrink tubing or pre-sized labels. ... Locate the split on the ...
An Appealing Idea: How to easily remove the backing from Dymo Tape ... When you're ready to peel your label, get a piece of packing tape- the heavy-duty, plastic kind. Apply the packing tape to the backing side of one end of your Dymo Tape. You want the packing tape to extend beyond the edge of the Dymo Tape like a little handle or tab. Grab the tab and pull- the backing will peel away smoothly and easily. How to Print Dymo Address Labels for Mailing - enKo Products Follow the steps below for creating Dymo address labels using the Dymo Connect software. Step 1. Choose your Dymo address label sizes. Open your Dymo Connect. Click New. Click Label Type. Select the size from the options of Dymo address labels. Click Open. Learn more about standard sizes of Dymo Address Labels and Dymo return address labels. DYMO LabelWriter 450 Front Cover Replacement - iFixit Step 1 Back Plate Make sure the device is unplugged. Then, turn over the device so that the label is readable. Remove the two 15.7mm screws on the top of the device first, and then the two 26.5mm screws on the bottom (they are in the smaller holes and larger holes respectively) using a Phillips #1 screwdriver. 12 Best Sticker Printer For Labels, Stickers, And Photos In 2022 Aug 07, 2022 · Complete review and comparison of best Sticker Printers. Select the ideal paper or vinyl sticker printer machine for DIY labels, stickers, and photos: Hobbyists, small business owners, or even company owners must print labels, for various reasons. To do this, though, you need the finest sticker printer on the market.
How to Install DYMO Software for Elvanto Label Printing DYMO Wireless printers: DYMO Wireless printers are not officially supported for use with Elvanto. While it may be possible to use a DYMO Wireless printer, they require a connection to a wireless network shared with the computer or print station used for printing. javascript - Dymo Label Writer - how to remove the default text "No ... I would like to either remove or change the default text that appears "No barcode data", when no data is available for generating bar code. Please find the code and picture below. ... How to Unjam Dymo Label Maker Step-by-Step | LabelValue 1. Make sure your LabelWriter printer is unplugged. 2. Lift the cover to your Dymo LabelWriter and remove the spool holding your dymo labels. If any labels have already been fed through the printer, tear and remove. 3. The piece of the printer with the Dymo name and logo is the face plate. Remove that piece and set to the side. 4. How to Easily Remove Labels & Stickers - LabelValue 2. Baking Soda & Water: With baking soda we have perhaps one of the easiest methods available to the ecologically conscious. First you'll want to soak the item in a warm pool of water mixed with baking soda. You don't need to expend any manual effort on removing the labels beforehand.
DYMO Label Writer Troubleshooting Guide | ShopKeep Support
Dymo LabelManager 160 Troubleshooting Tips - Labelcity, Inc. 1. Locate the split on the label backing. 2. Gently pinch the label length-wise, folding toward the printed side of the label. The label backing will separate. 3. Carefully peel away the backing from the label. Need labels ? Labelcity stocks the entire range of Dymo LabelManager 160 Labels.
How To Fix Dymo Label Maker
How to Remove Backing Sheet from Label Paper - YouTube This short video shows how to EASILY remove the backing sheet from label paper. More on PDF Moving-Box labels at

32 Dymo Label Software Has Stopped Working - Labels 2021
Dymo & P-Touch - Office Monster Dymo 99012 LabelWriter Large Address Labels 36mm x 89mm White (Pack of 520) S0722400 Check Stock - Click Here (0: 20/07/2022)

30 Dymo 160 Label Jam - Modern Label Ideas
How to remove printed labels from the backing easily? take the printed label in between your thumb and fore finger of each hand with the backing side of the tape facing you, gently keep squeezing it and you will see that the waked backing tape is split down the middle, then just flip your thumb nail under the spit and peel off, it takes a few attempts but after a while you will do it first time …

DYMO® Labels for LabelWriter® Label Printers | VWR
Troubleshooting the Dymo LabelWriter - endicia.custhelp.com Open the Windows Start Menu and select "Devices and Printers", "Printers", or "Printers and Faxes". Right-click on the Dymo LabelWriter icon and select "Remove Device" or "Delete". Then click "Yes" or "OK" to delete the driver. Plug the USB cable back in to your printer. A driver installation window should automatically open.
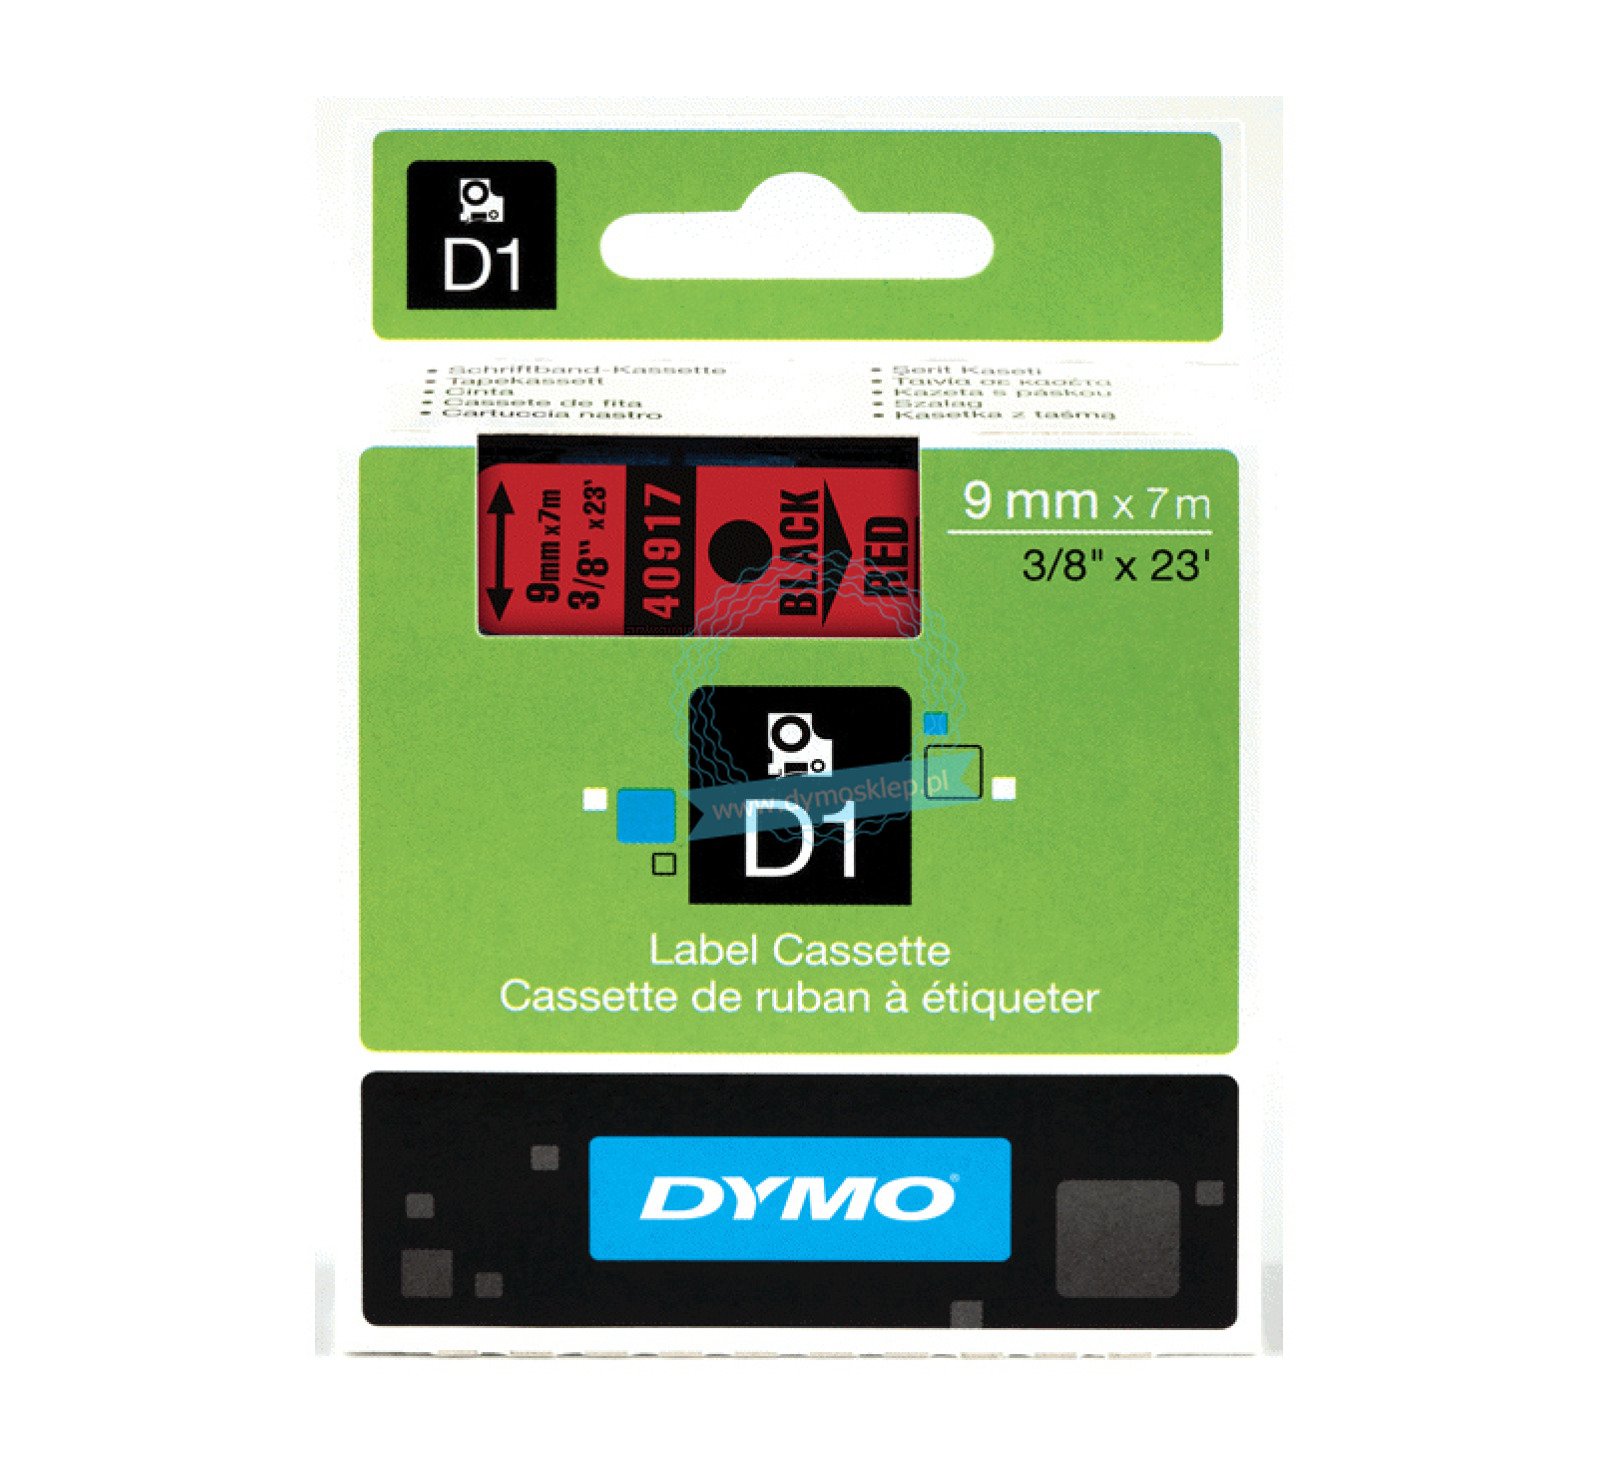
Dymo D1 Standard Labels 9mm x 7m black/red 40917
PDF DYMO Label User Guide Introduction TourDYMO Labelv.8 GivesanoverviewoftheDYMOLabelv.8software mainworkareas. Getting Started Containstopicstohelpnewusersstartprintinglabels
Post a Comment for "43 how to remove backing from dymo labels"